Anaconda environments#
Create environment: ds#
We install some modules in a new Anaconda environment. We call this new environment ds (data science).
On Windows open the Start menu and open the “Anaconda Command Prompt”.
On macOS: Open a terminal (learn how to open a terminal)
Copy this code and run it in your terminal:
conda create -n ds python=3.9 pandas openpyxl jupyter scikit-learn altair vega_datasets matplotlib seaborn requests tweepy beautifulsoup4 streamlit sqlalchemy psycopg2 xgboost
Activate the new environment:
conda activate ds
Create environment: tf#
We install some modules in a new Anaconda environment. We call this new environment tf (TensorFlow).
On Windows open the Start menu and open the “Anaconda Command Prompt”.
On macOS: Open a terminal (learn how to open a terminal)
Copy this code and run it in your terminal:
conda create -n tf python=3.10 pandas jupyter tensorflow altair pydot --y
Activate the new environment:
conda activate tf
Install Graphviz#
Graphviz is open source graph visualization software. We use it to visualize Deep Learning Architectures.
Windows#
Install Graphiz
Mac#
Install MacPorts. The MacPorts Project is an open-source community initiative to design an easy-to-use system for compiling, installing, and upgrading either command-line, X11 or Aqua based open-source software on the Mac operating system.
Install Graphviz using MacPorts. In your temrinal:
sudo port install graphviz
How to select your environment#
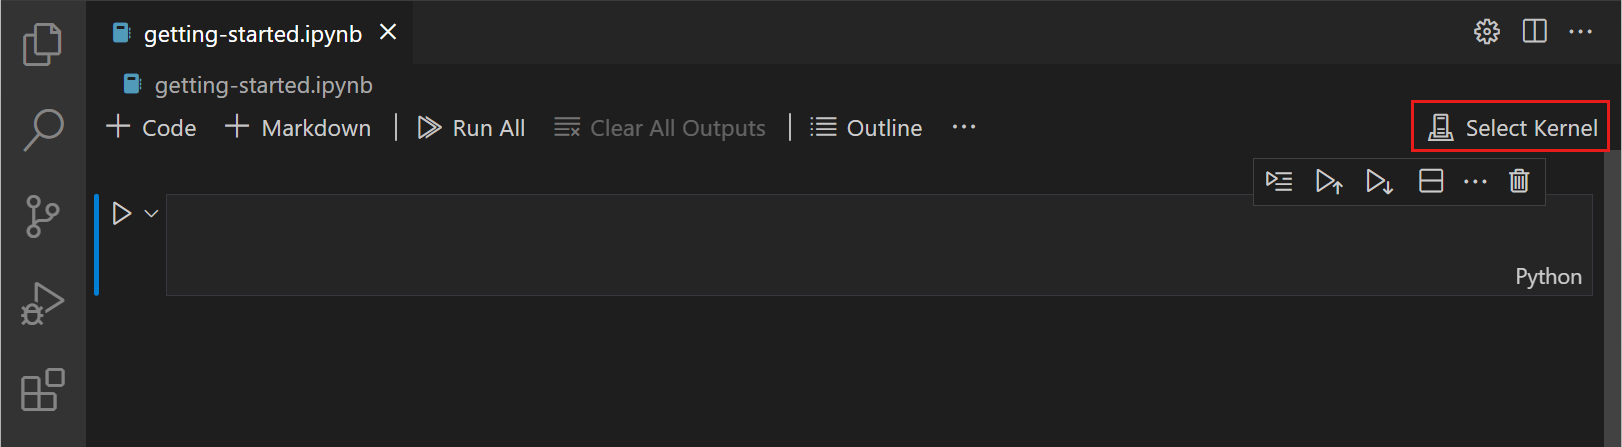
In Visual Studio Code:
Next, select a kernel using the kernel picker in the top right (select the Anaconda environment)
If you can’t see your newly created environment:
You can also manually specify an interpreter if Visual Studio Code doesn’t locate your kernel automatically.
Show command palette: Press
cmd+shift+p(Mac) orstrl+shift+p(Windows)Search for `Python: Select Interpreter´
Select it and you should see a list of your virtual environments
Select the environment of your choice and you are ready to go.
If the steps described above should not work for you, take a look at other tips at StackOverflow.